 by
by Login is one of the basic procedure on a Web. Let us see how to write it using Codeigniter4. Here I have used CentOS combined with codeigniter4 for the example.
Step 1 : Create a Login Screen at app/Views/login.php from your project directory.
<html>
<head>
<style>
body {

    background-size: cover;
    font-family: Montserrat;
}

.logo {
    width: 213px;
    height: 36px;
    margin: 30px auto;
}

.login-block {
    width: 320px;
    padding: 20px;
    background: #fff;
    border-radius: 5px;
    border-top: 5px solid #ff656c;
    margin: 0 auto;
}

.login-block h1 {
    text-align: center;
    color: #000;
    font-size: 18px;
    text-transform: uppercase;
    margin-top: 0;
    margin-bottom: 20px;
}

.login-block input {
    width: 100%;
    height: 42px;
    box-sizing: border-box;
    border-radius: 5px;
    border: 1px solid #ccc;
    margin-bottom: 20px;
    font-size: 14px;
    font-family: Montserrat;
    padding: 0 20px 0 50px;
    outline: none;
}

.login-block input#username {
    background-size: 16px 80px;
}

.login-block input#username:focus {
    background-size: 16px 80px;
}

.login-block input#password {
    background-size: 16px 80px;
}

.login-block input#password:focus {
    background-size: 16px 80px;
}

.login-block input:active, .login-block input:focus {
    border: 1px solid #ff656c;
}

.login-block .button {
    width: 100%;
    height: 40px;
    background: #ff656c;
    box-sizing: border-box;
    border-radius: 5px;
    border: 1px solid #e15960;
    color: #fff;
    font-weight: bold;
    text-transform: uppercase;
    font-size: 14px;
    font-family: Montserrat;
    outline: none;
    cursor: pointer;
}

</style>
</head>
<link href='http://fonts.googleapis.com/css?family=Montserrat:400,700' rel='stylesheet' type='text/css'>
<div class="logo"></div>
<div class="login-block">
    <form method="post" action="/dologin"  >
    <h1>Login</h1>
    <input type="text" value="" placeholder="Username" id="email" name="email" />
    <input type="password" value="" placeholder="Password" id="password" name="password" />
    <input type="submit" class="button" type="submit" value="Submit" />
    </form>
</div>
</html>
Step 2: Create a welcome Page at app/Views/welcome_message.php . We have checked for session in this file to determine whether the user is logged in or logged out and display the Login Logout text accordingly.
<!DOCTYPE html>
<html lang="en">
<head>
	<meta charset="UTF-8">
	<title>Welcome to DVXlab</title>
	<meta name="description" content="The small framework with powerful features">
	<meta name="viewport" content="width=device-width, initial-scale=1.0">
	<link rel="shortcut icon" type="image/png" href="/favicon.ico"/>
</head>
<body>
<header>
		<div class="heroe">
		<?php if(session()->get('isUserLoggedIn')) { ?>
			<a href="/logout" >Logout </a>
		<?php } else { ?>
			<a href="/login" >Login </a>
		<?php  } ?>
			<h1>Welcome to DVXLab </h1>
		</div>

</header>
</body>
</html>
Step 3:
Create a Login Controller as below at app/Controllers/Login.php . Here we will have functions to perform the login and logout activity. We have taken a static username asndpassword for this example, but you can fetch these details from database to authenticate the user.
<?php

namespace App\Controllers;

class Login extends BaseController
{
    public function login(){
        return view('login');
    }
    public function doLogout(){
        $this->session = \Config\Services::session();
        $this->session->destroy();
        return redirect()->to("/welcome");
    }

    public function doLogin(){
        $this->request = \Config\Services::request();
        $this->session = \Config\Services::session();
        $post = $this->request->getPost();

        if($post['email'] == 'dvxlab@examplemail.com' && $post['password'] == '123'){
            $session_data = [
                'email'     => $post['email'],
                'isUserLoggedIn' => true
            ];
            $this->session->set($session_data);
            return redirect()->to("/welcome");
        }else{
            return redirect()->to("/login");
        }

    }
}
Step 4: Add Routes to complete the login procedure. Copy and add below lines to the Routes file on app/Config/Routes.php
$routes->get('/login', 'Login::login');
$routes->get('/welcome', 'Home::welcome');
$routes->post('/dologin', 'Login::doLogin');
$routes->get('/dologin', 'Login::doLogin');
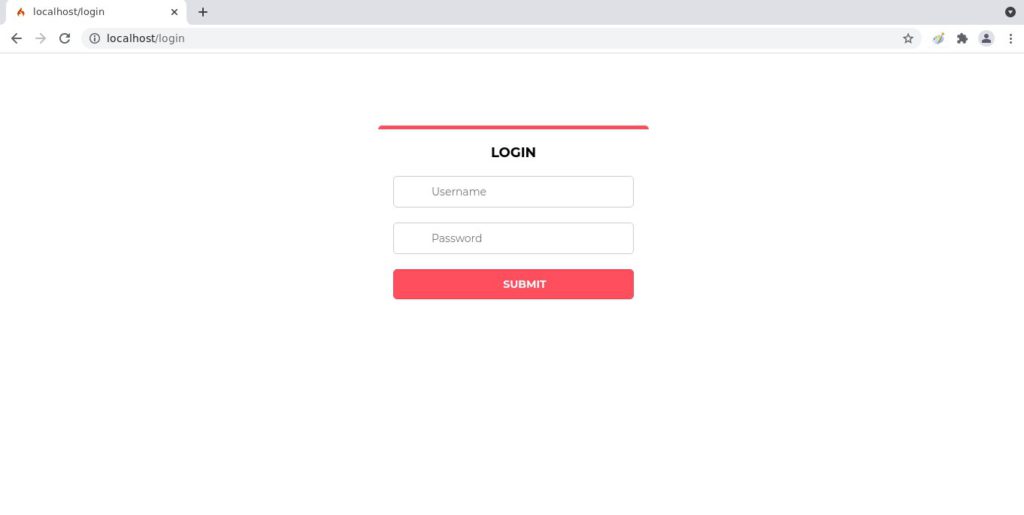
$routes->get('/logout', 'Login::doLogout');That is it and we are ready. To view this page, go to address bar and type http://localhost/welcome and you should see the login screen as below.
Since we have used static username password in this example, we will use them to test. Type dvxlab@examplemail.com for username and type 123 for password. The login will show successful and lead you to the welcome screen. You can see the page will show a Logout link, which indicates the login was successful.

When you click on Logout, the session is destroyed and you will be redirected back to welcome page where you will see a Login link.